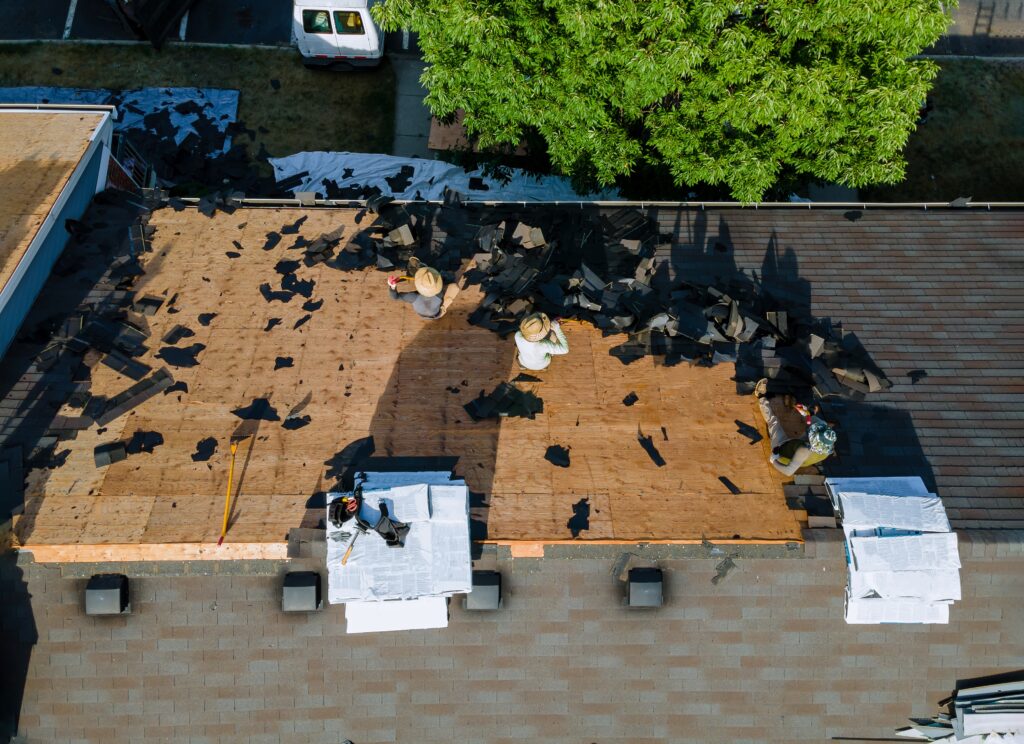
TOP 5 SIGNS YOU NEED A NEW ROOF (BEFORE IT’S TOO LATE)
Your roof is your home’s first defense against weather, water, and structural damage. But over time, even the best roofing materials wear down. The problem is, many homeowners miss the early warning signs — and that can lead to expensive repairs or interior damage.
1. Missing, Cracked, or Curling Shingles
If your roof’s shingles are:
- Curling at the edges
- Cracking or breaking apart
- Completely missing in spots
…it’s a sign that your roofing material is reaching the end of its lifespan. Shingles protect the underlayment and decking below. Once they start failing, your roof is vulnerable to leaks and further deterioration.
Don’t wait until water starts coming in — act at the first visual sign of damage.
2. Water Stains or Leaks Inside Your Home
Do you notice:
- Brown spots on your ceiling?
- Peeling paint near the roofline?
- Damp spots in your attic or upstairs walls?
These are major red flags. Water intrusion may be slow and subtle at first, but over time, it causes rot, mold, insulation damage, and even structural issues.
✅ A professional roof inspection can identify the source and extent of the leak before it spreads.
3. Roof Sagging or Uneven Areas
If you see parts of your roof that appear sunken, drooping, or uneven, it could point to:
- Moisture damage weakening the decking
- Rot in the structural framing
- Improper installation or long-term neglect
A sagging roof is not just a cosmetic issue — it’s a structural concern that should be addressed immediately by a qualified roofing contractor.
4. Your Roof Is 20+ Years Old
Most asphalt shingle roofs have a lifespan of 15–25 years, depending on materials, weather conditions, and maintenance. Even if your roof looks “okay,” it could be hiding wear beneath the surface.
If your roof is over 20 years old, it’s smart to start planning a replacement before major issues appear. A new roof also improves energy efficiency, resale value, and home protection.
5. Moss, Algae, or Dark Streaks
Organic growth like moss or algae may seem harmless — but they trap moisture and break down shingles over time. Dark streaks can also indicate granule loss, which reduces your roof’s ability to reflect sunlight and protect your home.
Cleaning alone won’t solve this if it’s widespread. If growth is persistent, your roof likely needs replacement rather than repair.
What to Do If You Notice These Signs
Don’t guess. Don’t delay. If you notice any of these signs, the safest next step is to get a free professional roof inspection.
At True Quality Construction, we provide:
- Honest roof assessments
- Transparent estimates
- High-quality roof replacements using top-grade materials
- Fast, clean, professional service with 10+ years of experience
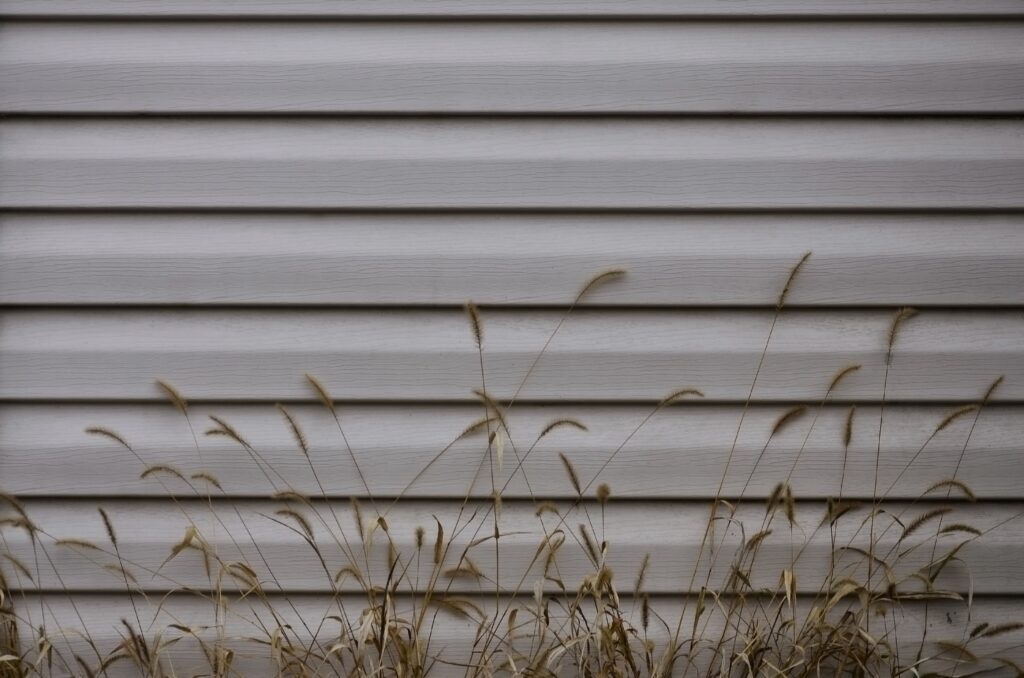
VINYL VS. FIBER CEMENT SIDING: WHICH IS BETTER FOR YOUR HOME?
When it comes to improving your home’s exterior, choosing the right siding is one of the most important decisions you’ll make. Not only does siding protect your home from the elements, but it also impacts energy efficiency, durability, maintenance, and most importantly — curb appeal.
Vinyl Siding Overview
Vinyl siding is made from durable PVC (polyvinyl chloride) and is one of the most widely used materials in the U.S.
✅ Pros:
- Affordable: Vinyl is budget-friendly and widely available.
- Low Maintenance: No painting required. Just rinse occasionally with water.
- Color Variety: Available in dozens of colors and finishes, including wood-look textures.
- Quick Installation: Lightweight panels make for a faster install time.
❌ Cons:
- Less Durable: Can crack in very cold temperatures or warp with intense heat.
- Appearance: May look less high-end compared to fiber cement.
- Lower Fire Resistance: PVC is more vulnerable to extreme heat or flame than cement-based siding.
Fiber Cement Siding Overview
Fiber cement siding (commonly known by brands like James Hardie) is made from a mix of cement, sand, and cellulose fibers. It offers a premium look and long-term durability.
✅ Pros:
- Highly Durable: Resistant to fire, moisture, rot, and pests.
- Premium Appearance: Mimics the look of real wood, stucco, or smooth paneling.
- Long Lifespan: Can last 30-50+ years with proper maintenance.
- Excellent Fire Rating: Non-combustible — a great choice for fire-prone areas.
❌ Cons:
- More Expensive: Higher material and labor costs than vinyl.
- Heavier Material: Requires skilled installation and longer labor time.
- Maintenance: May require occasional repainting after 15-20 years.
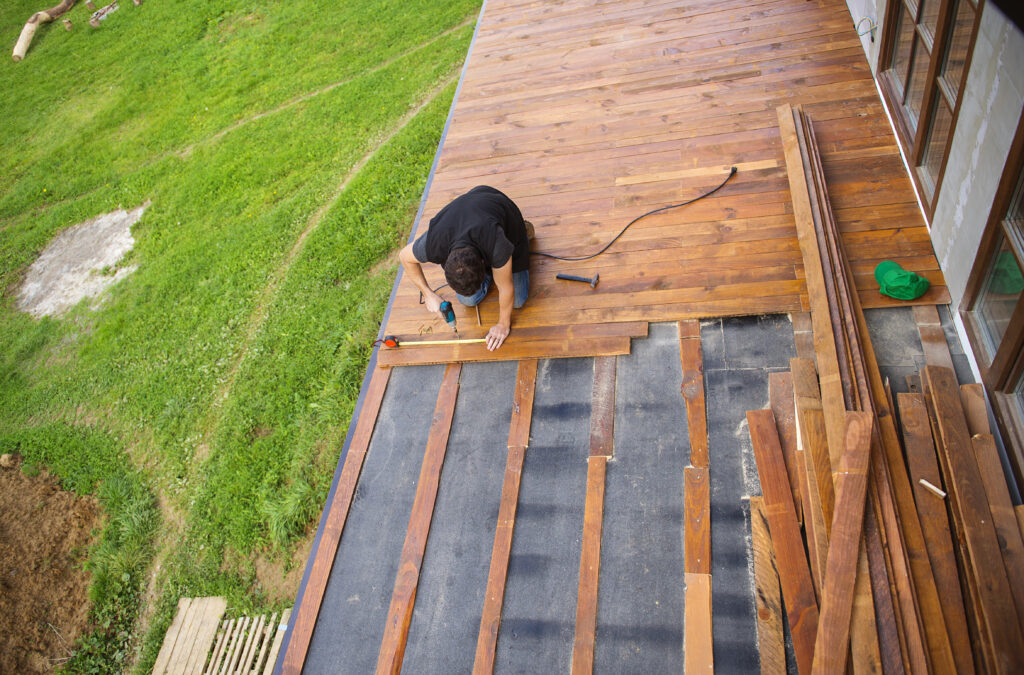
HOW TO PLAN THE PERFECT BACKYARD DECK: 7 KEY STEPS
A well-designed deck can completely transform your backyard — creating a beautiful, functional space for entertaining, relaxing, and enjoying outdoor living. But building a great deck requires more than just picking out boards.
At True Quality Construction, we’ve helped dozens of homeowners design and build their dream decks. In this article, we’ll walk you through 7 essential steps to plan the perfect backyard deck — whether you’re starting from scratch or upgrading an old one.
1️⃣ Define Your Deck’s Purpose
Before you think about materials or design, ask yourself:
What do I want to use my deck for?
- Hosting parties or family BBQs?
- Creating a peaceful retreat for reading or lounging?
- Adding a hot tub, fire pit, or outdoor kitchen?
- Extending indoor space for dining or relaxing?
💡 Knowing how you’ll use the space helps determine the layout, size, and features you’ll need.
2️⃣ Choose the Ideal Location
- Not every spot in your yard is ideal for a deck. Consider:
- Sun vs. Shade: Do you want a sunny spot, or should the deck have natural shade?
- Privacy: Will you need privacy screens, fencing, or landscaping?
- Access Points: Should the deck connect to your kitchen, living room, or patio door?
- Views: Take advantage of any natural scenery or focal points.
🏡 Your deck should feel like a natural extension of your home.
3️⃣ Set a Realistic Budget
Deck projects vary in price depending on:
- Size and complexity
- Materials used
- Add-ons (stairs, lighting, railings, pergolas, etc.)
- Labor costs
Typical deck installation costs range from $25–$60+ per square foot. We recommend setting a realistic budget early on and discussing it with your contractor to explore options that work for you.
4️⃣ Select the Right Decking Material
Choosing the right material is critical for durability, appearance, and maintenance.
Common Decking Options:
- Pressure-Treated Wood – Affordable and classic, but needs sealing and maintenance.
- Cedar or Redwood – Naturally resistant to rot, beautiful, but higher cost.
- Composite (e.g., Trex) – Low maintenance, long-lasting, and available in many colors/styles.
- PVC Decking – Extremely durable, moisture-resistant, and maintenance-free.
🔧 We can help you compare materials based on your climate, lifestyle, and budget.
5️⃣ Design the Layout & Features
A custom deck should suit your space and your style. Consider:
- Multi-level or single-level design
- Built-in seating or planters
- Stairs and railings
- Pergolas or covered areas
- Outdoor lighting or heaters
- Accessibility (e.g., ramps or wide steps)
🎯 At True Quality Construction, we create custom deck designs that balance function and beauty.
6️⃣ Check Permits & Building Codes
Most deck projects require permits and inspections based on your local zoning laws. You’ll need to consider:
- Setback rules and property lines
- Weight limits (especially if adding hot tubs or furniture)
- Railing height and spacing
- Structural safety regulations
✅ Don’t worry — our team handles all permitting and code compliance for you.
7️⃣ Hire a Professional Deck Builder
Sure, DIY is tempting… but a professionally built deck offers:
- Higher quality & longer lifespan
- Safe, code-compliant construction
- Increased home value
- Peace of mind
At True Quality Construction, we offer full-service deck design, installation, and finishing — with 10+ years of experience and a strong reputation for craftsmanship.
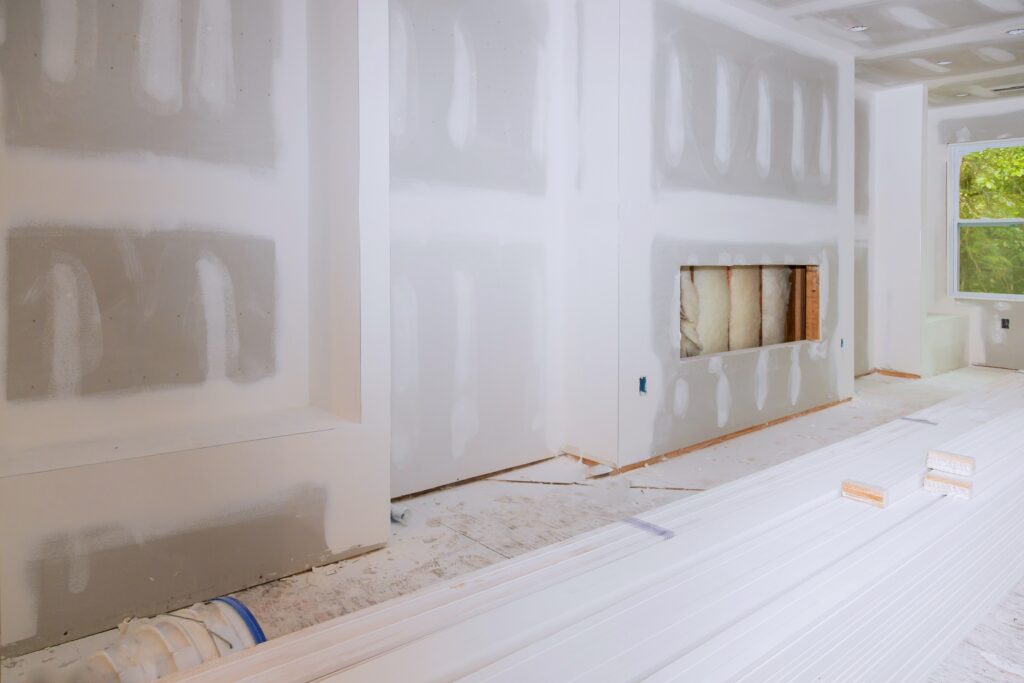
6 COMMON DRYWALL MISTAKES (AND HOW WE AVOID THEM)
A flawless drywall job requires experience, attention to detail, and the right tools. Unfortunately, many homeowners (and even some contractors) make basic mistakes that lead to visible seams, uneven surfaces, or even costly repairs.
At True Quality Construction, we’ve repaired and replaced dozens of poorly installed drywall jobs. In this post, we’ll cover the 6 most common drywall mistakes — and how our team avoids them every time.
1️⃣ Poor Taping and Joint Compound Application
❌ The Mistake:
Applying too much or too little joint compound, or placing tape incorrectly, causes visible seams, cracks, or bubbles once the wall is painted.
✅ Our Solution:
We apply multiple thin, even layers of compound with proper feathering, and use paper or mesh tape depending on the joint type. Our team ensures a smooth finish that disappears after paint.
2️⃣ Over-Sanding the Surface
❌ The Mistake:
Aggressive sanding can damage the paper surface of the drywall or leave grooves that show through paint.
✅ Our Solution:
We use fine-grit sanding sponges and light passes to create a level surface. Our sanding is precise — just enough to smooth, never enough to harm.
3️⃣ Incorrect Screw or Nail Placement
❌ The Mistake:
Fasteners that are too deep can break the paper face, weakening the hold. Shallow screws can leave bumps or create movement in the panels.
✅ Our Solution:
We set fasteners just below the surface without tearing the paper, using a screw gun with a depth setter for consistent pressure and spacing.
4️⃣ Gaps Between Panels That Are Too Wide
❌ The Mistake:
Leaving large gaps between drywall panels makes joints harder to finish cleanly and increases cracking risk.
✅ Our Solution:
We always cut and fit panels precisely, maintaining a gap no larger than 1/8 inch between sheets. For unusual angles or obstacles (like around electrical boxes), we custom-measure and trim.
5️⃣ Ignoring Moisture Control
❌ The Mistake:
Installing standard drywall in moisture-prone areas (like bathrooms, basements, or near windows) can lead to mold, warping, or deterioration.
✅ Our Solution:
We use moisture-resistant drywall (green board) or cement board in bathrooms, kitchens, and basements — and ensure proper ventilation or waterproofing before installation.
6️⃣ Rushing the Drying Process
❌ The Mistake:
Applying multiple coats of joint compound without letting them fully dry causes shrinking, cracking, or uneven textures.
✅ Our Solution:
We allow each layer of compound to fully dry and cure before sanding or adding the next. This ensures strong adhesion, smooth finishes, and long-term durability.